Meredith had asked several times for her own mei tai to carry the new baby around in. I put her off at first, thinking it might be just a passing request, but it was definitely something she was serious about as it kept coming up. She wanted it to be pink, and when I mentioned this to my mom it turned out she had some extra pink heavy twill that she was able to bring out for us. She also sent some pictures of pink cottons she had for Meredith to look at, and Meredith picked out some cats hiding in the grass. We looked around online as she really wanted fairies on the reverse panel, and she found fabric she decided was perfect.
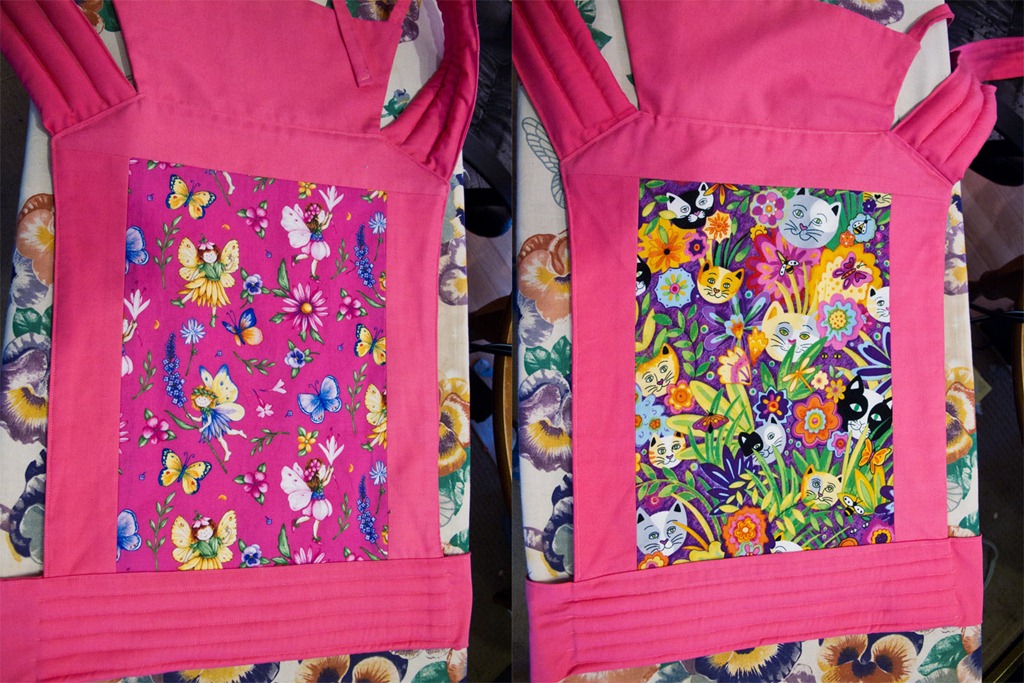
I thought I’d post some of my steps, though this isn’t a whole tutorial, since there are lots out there, more just how I changed it to account for the smaller size of the wearer. I didn’t find much information about making a mei tai specifically for an older sibling to wear a real baby. I used a conglomeration of several tutorials, plus my experience making previous ones, but mostly the Scandi mei tai tutorial and the Hobo Mama tutorial. Click any pictures to see them larger.
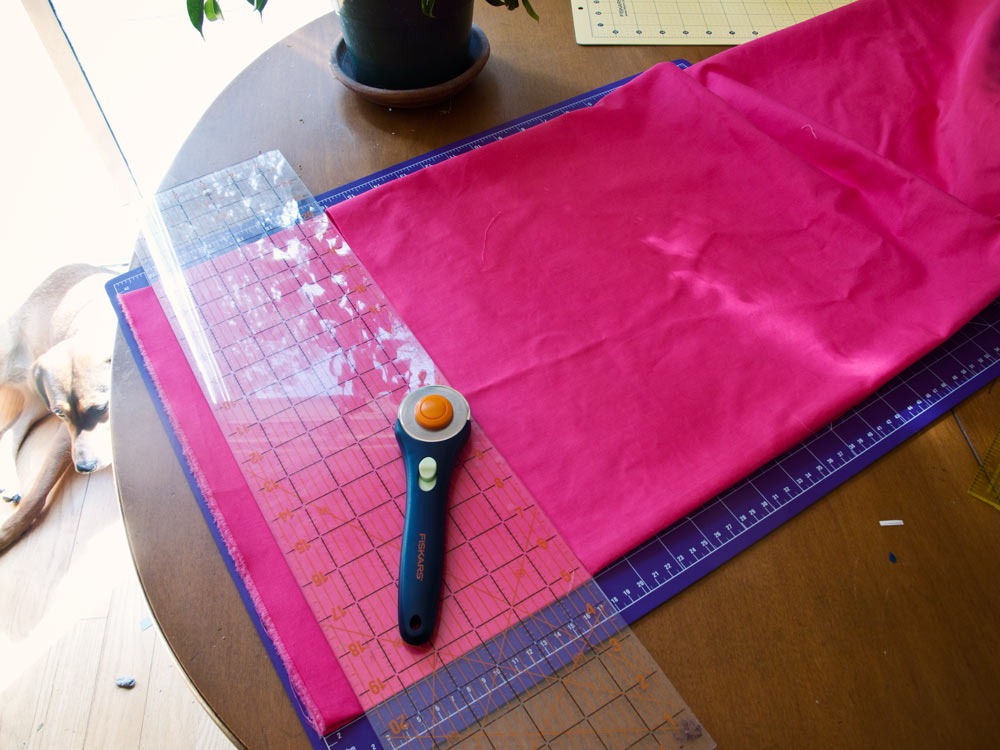
Once I had the fabric, the tricky part was deciding on dimensions. The straps were pretty easy. I knew the ones on mine were far too long. I tried on our doll mei tais. The one I recently made for Fiona had straps that were 44” long, and trying that on they worked but were a bit on the short side. The twill my mom had was 60” across, which I decided was the perfect length. I decided on three inches wide, so needed to cut them 7” wide to take into account a 1/2” seam allowance. I folded it selvage to selvage, and then over once more, and used my new rotary cutter and mat (thanks Mom!) to cut three straps. So much nicer than ripping the fabric all the way across and hoping for the best!
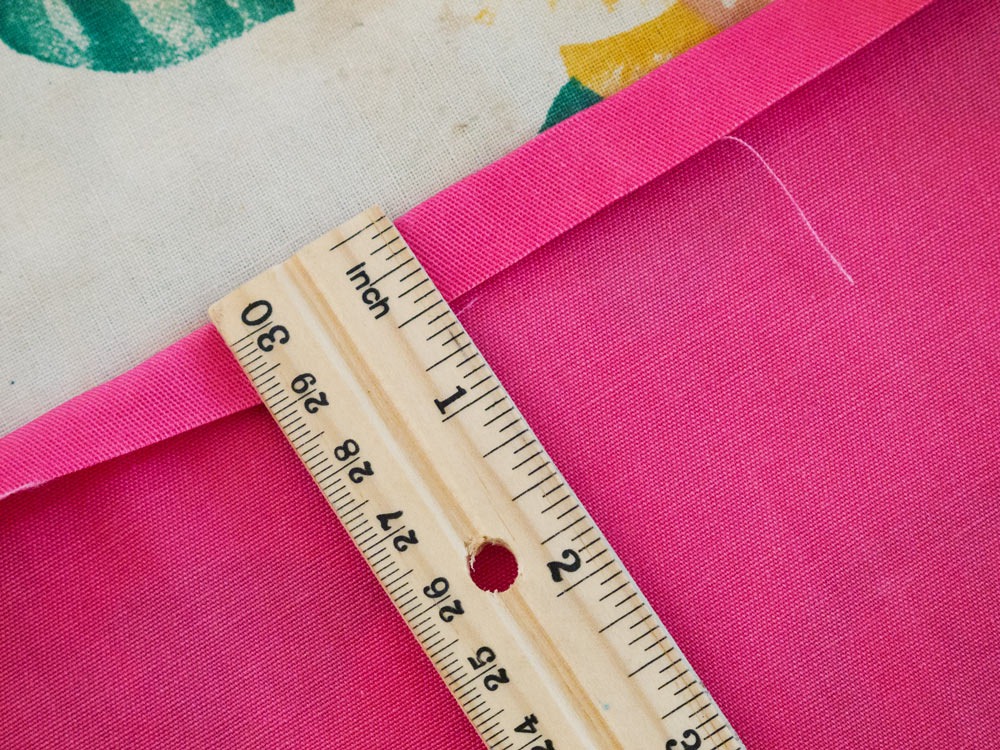
I decided to try Hobo Mama’s way of sewing the straps, which is to fold the seams in 1/2” and iron them, then fold the straps in half, and then just top stitch around it after tucking the padding in. I’m not sure whether I like this way or just sewing them normally and then turning them better. It’s definitely a pain to get the padding in and get them turned properly the second way, but turning down each side 1/2” took quite a while too. There are probably more efficient ways than the way I did it though.
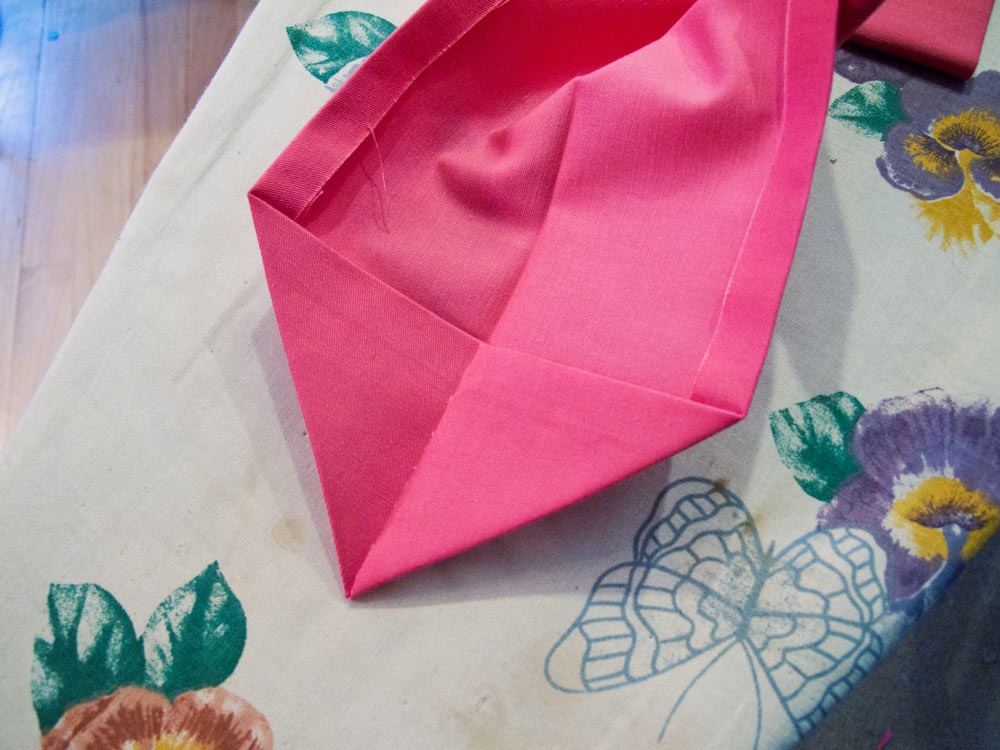
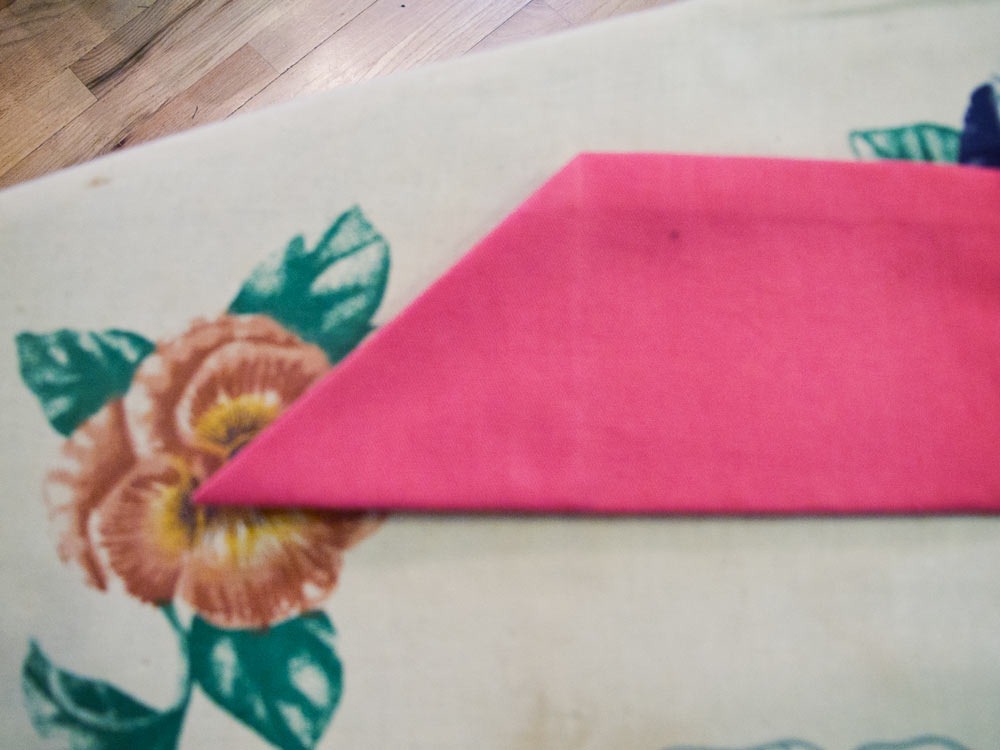
I have to say though, that this way definitely made nice, sharp angled corners. I just folded the end corners into the middle and ironed them, and so no need to try and be poking the corners out perfectly after sewing and turning. Sorry for the blurry second picture. I did this on one end of each shoulder strap and on both ends of the waist straps.
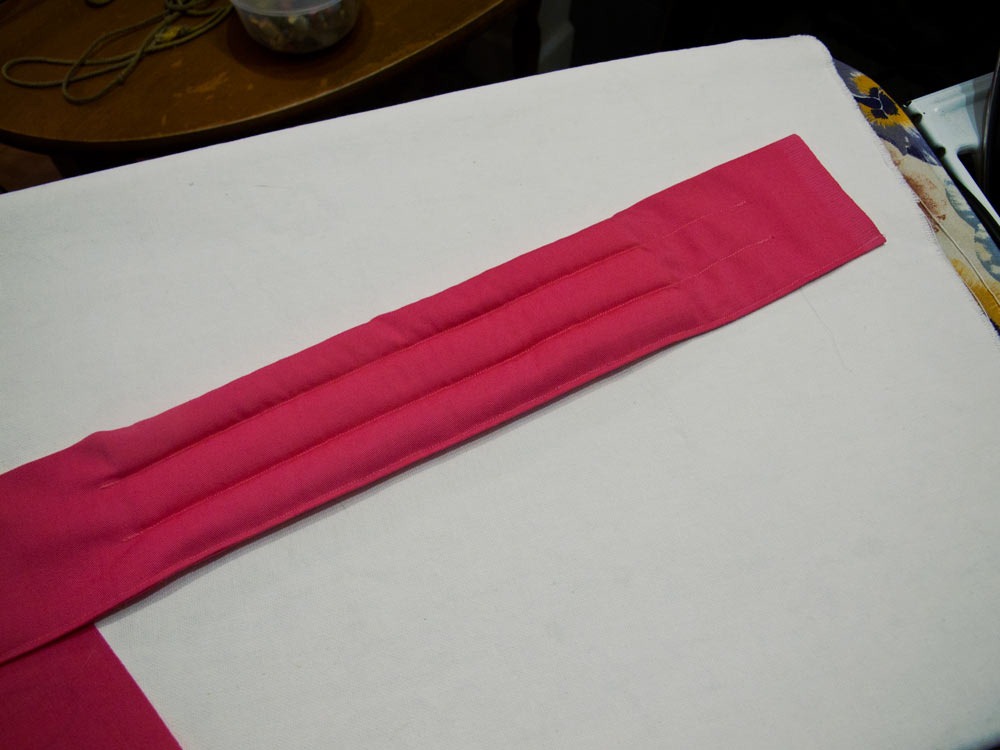
For the padding, I cut 10”x10” squares of fleece, folded them in half, then in half the same way again, so I ended up with rectangles 2.5”x10”. I think if I were to make another, I might only do three layers of padding, or maybe make the padding slightly narrower. I tucked the padding into the shoulder straps about 4” from the straight ends, then pinned it all along and top stitched the entire strap. I started with the angled corners to make sure they stayed nice and lined up. I sewed two lines down the just padding section to keep the padding in place, plus I like how it looks. I usually like how top stitching looks and would top stitch the folded edge the whole way too, but I’d read that some people find that creates more pressure points, so I decided not to for now. I can always go back and do that if I change my mind later.
For the body, I wanted it small enough that it would fit Meredith well, but large enough I could reinforce it properly and it would hold a small baby well. I searched around online and got some advice from the Babywearer forums online and a local Facebook group, as well as just holding up some mei tais I already had to Meredith and eye balling what might work. I decided to go with 12” across and a lightly padded waist so we could cinch it if need be. We ended up with it being about 16” tall though I hadn’t decided that until it was almost all put together (as I just made the panels that long with the plan to cut them shorter if I thought it necessary). We looked around at mei tais online, and she decided she wanted the body to be square-ish, and that she wanted the panels to be framed by the pink fabric. I made the panels first, and their finished dimensions are 13”x16.5” or so, to allow for seam allowances. I wasn’t very exact with the height since I knew I might cut them shorter, but did try to get the width right.
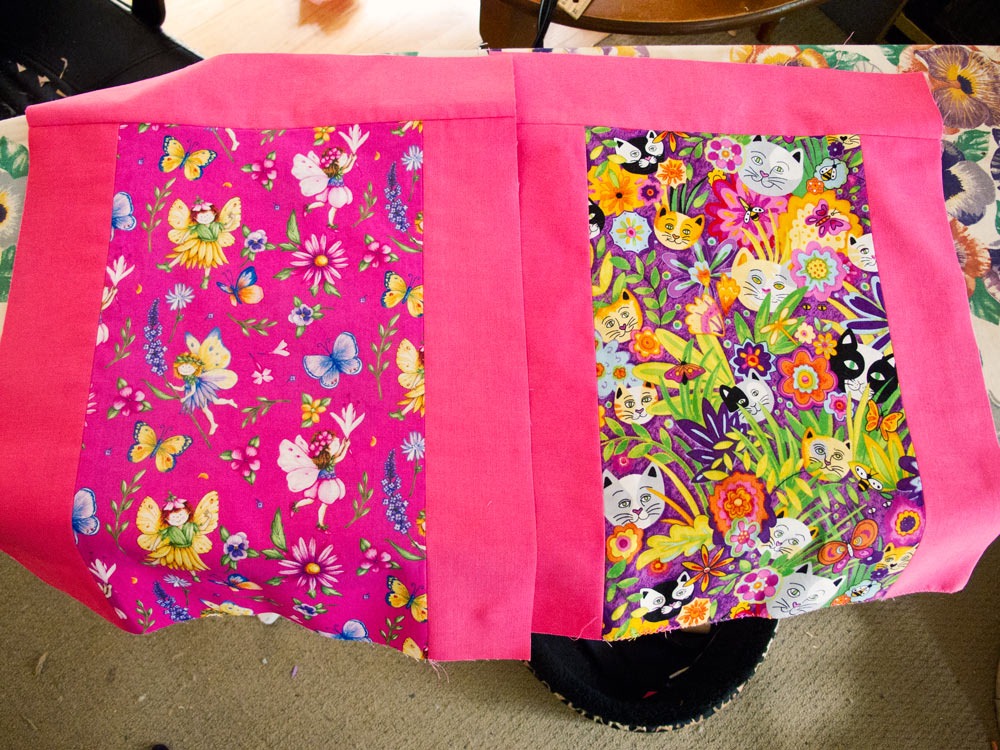
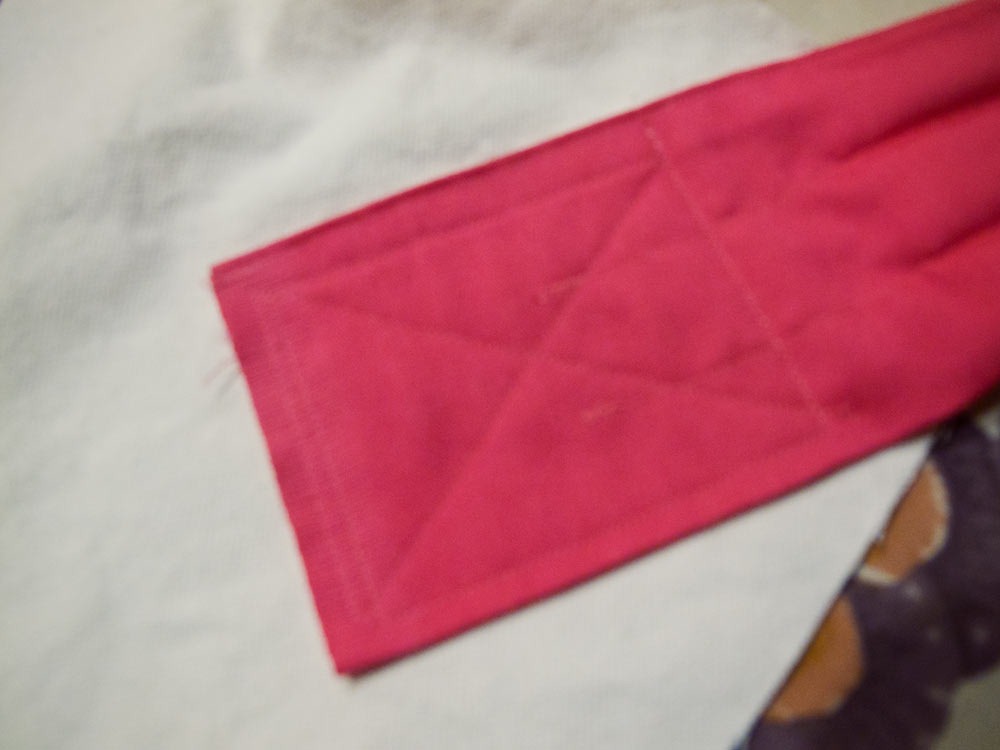
I then cut out a piece of heavy canvas to the same dimensions to use as a heavy inner panel. I held it up to Meredith and eye balled the angle for the straps. Many mei tai tutorials advise a 45° angle, but that seemed like it would be too wide, so I went with a 60° angle (from horizontal), which was still easy as I have markings for that on my cutting mat. They probably could have even been a little closer together than that, but it would have been harder to get them even. I made sure they were even and sewed them onto the heavy canvas with x-boxes. Sorry for the super blurry photo. There are much better photos of this on other tutorials. I purposely didn’t sew over the same lines when I needed to go across again. I have read mixed things on whether sewing in the same place more than once could weaken the fabrics (more holes poked along it), so opted for two lines a short distance apart instead to be safe.
I didn’t take any pictures of putting the whole thing together, but there are lots of great tutorials on how to do so, including the ones I linked above. I made the hood based on the Scandi hood but with smaller dimensions. I don’t actually think it needed the hood, as I doubt Meredith will ever want to carry the baby long enough for him/her to fall asleep, but she really wanted one. I haven’t put loops on the straps for the hood ties to go through as I figure I’ll wait until baby is here so I can get them in the right spot. It’s possible tucking the hood straps under the mei tai straps will be good enough anyway. I decided not to cut the body shorter, after trying out a long-ish doll in the mei tai and seeing where it’s head ended up. I know that is not perfect, but it can be rolled at the bottom if needed for smaller babies. I made the padding in the waist quite light, just two layers instead of four, so that we could cinch it if needed, since I prefer legs out carries if possible. I sewed along the waist padding every 1/2” after top stitching the strap, for looks as well as to reinforce it and make sure it could bear weight. I just moved my needle over to the left and lined up the last row of stitching with the other side of the presser foot and it made a perfect 1/2” spacing.
I will report back once the baby is born and we see how well it fits. In the meantime, she wanted to try it out carrying Fiona, who is only 10 pounds and 6-8” smaller than her, plus obviously too long for a mei tai made for a newborn. But it easily held her weight, and Meredith claimed it was comfortable and even carried her around for a short time in it.
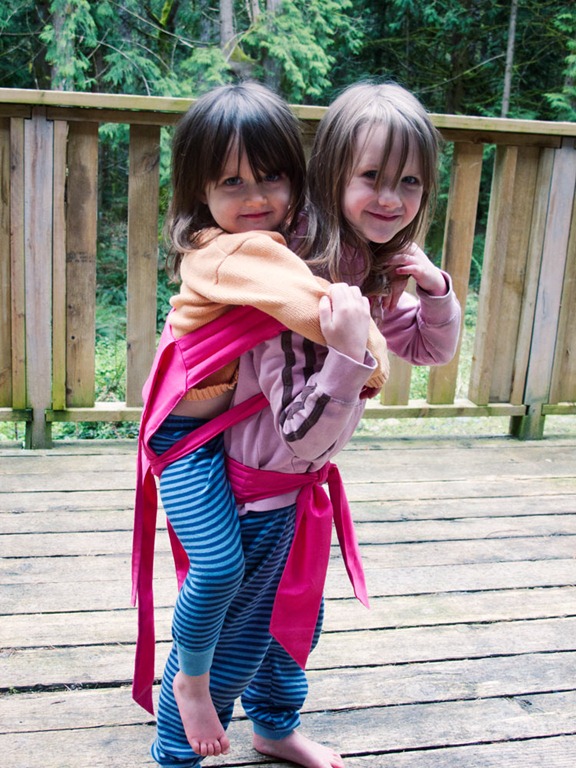
I can’t wait to see Meredith carrying her new little sibling around in it too.


wonderful. can’t wait to share this.